Welcome back!
Since the decade is coming to an end I decided to do an exercise called a “decade in review”. Where you write down all the good things that happened to you during this decade, what you learned, what you did, what you are proud of, etc, etc, and I noticed that even though I have been refinishing and (light) reupholstering furniture for over a decade I never considered myself as a DIYer. I felt that I did this as part of the business that I chose but never to be creative, crafty or anything similar. That is, until after I wrote it down and had that aha moment. When I was writing down what I really learned this year make me a DIYer. And just to include you in a little bit of what I did, here are my top 2 DIYs of the year:
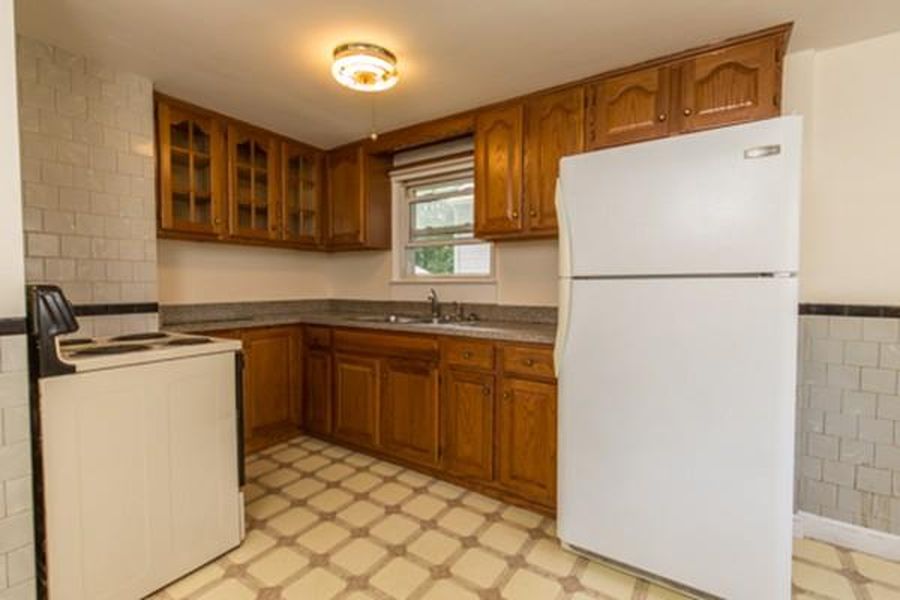
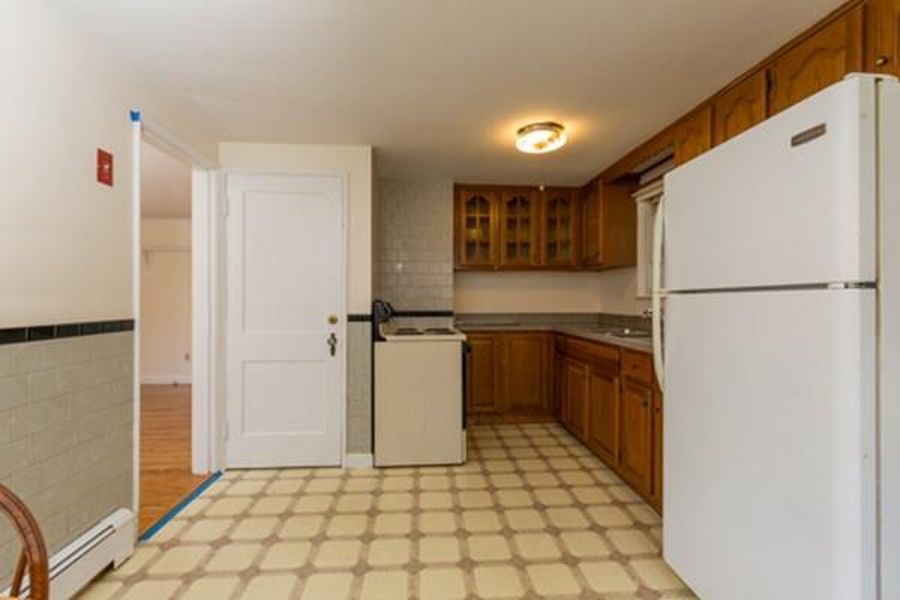
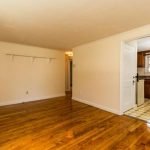
1. Converted my upper kitchen cabinets from solid to glass: So when we bought this house it had been the ho me of an elderly woman for a long time. Understandably there were no improvements done, pretty much anywhere and this is the kitchen as we found it.
Even though I have plans for the renovation and expansion of the kitchen and the back of the house I could not stand those oak cabinets one more minute. I needed to update it without spending too much money so I can enjoy it until we get to do the big renovation.
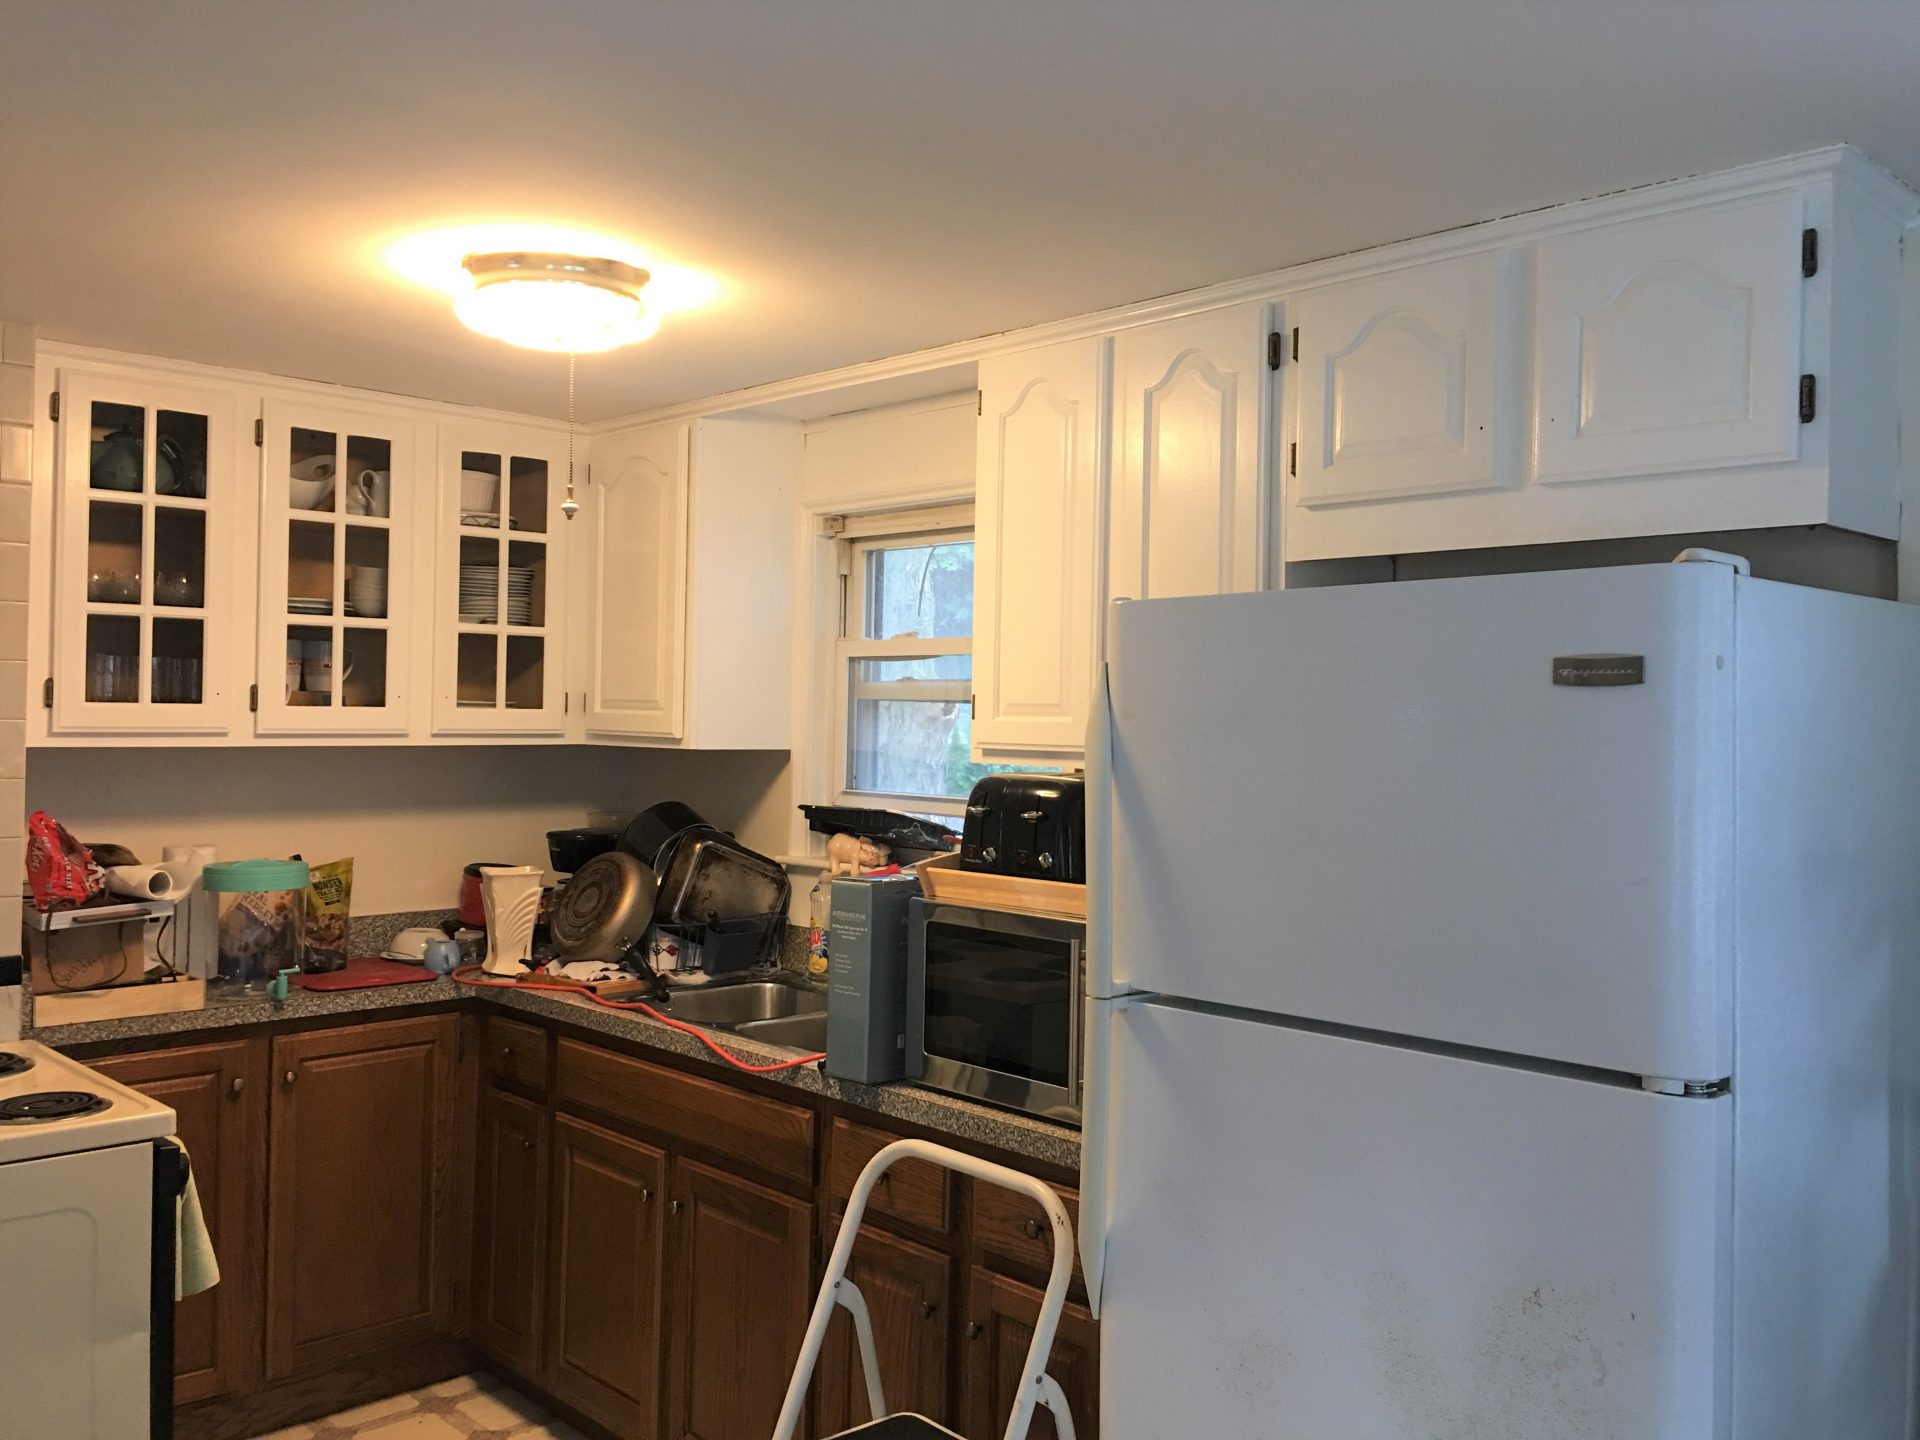
Oh, I forgot to mention that this picture is from the realtor and it is definitely lighter than reality. The light that we get here is not nearly as bright as it looks in the picture. So the dark cabinets made it look like a black hole, especially at night. So I decided to paint them white. Even though it took me a lot more coats than I thought, they came out pretty good if I say so myself. And it was a big improvement (see picture below) but they still looked like the same old kitchen to me. Sorry for the mess but I was still moving in and trying to figure out where I was going to fit everything.
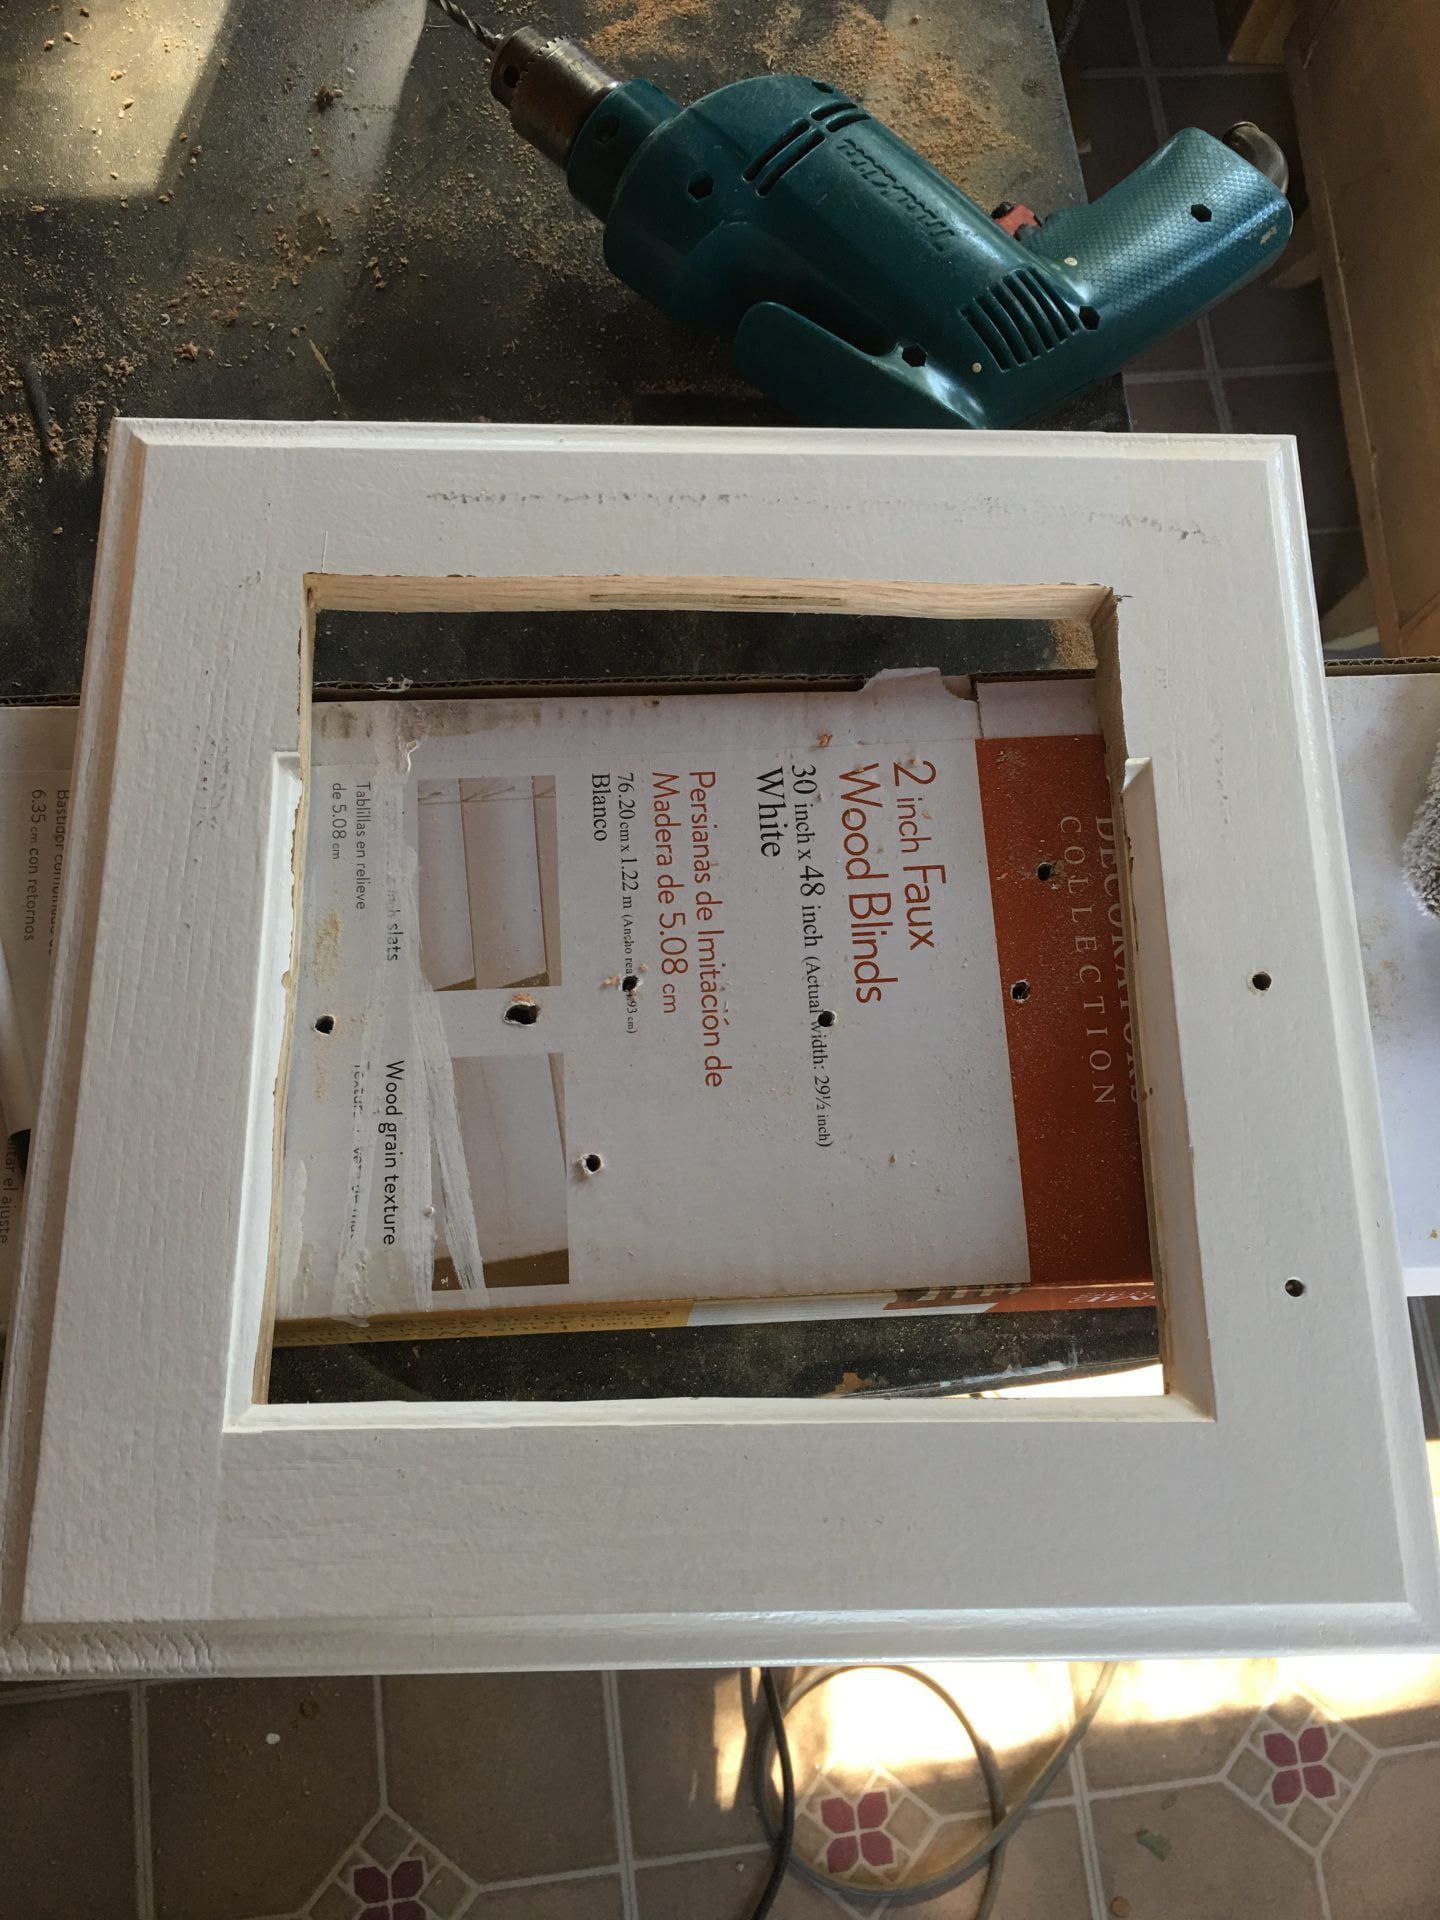
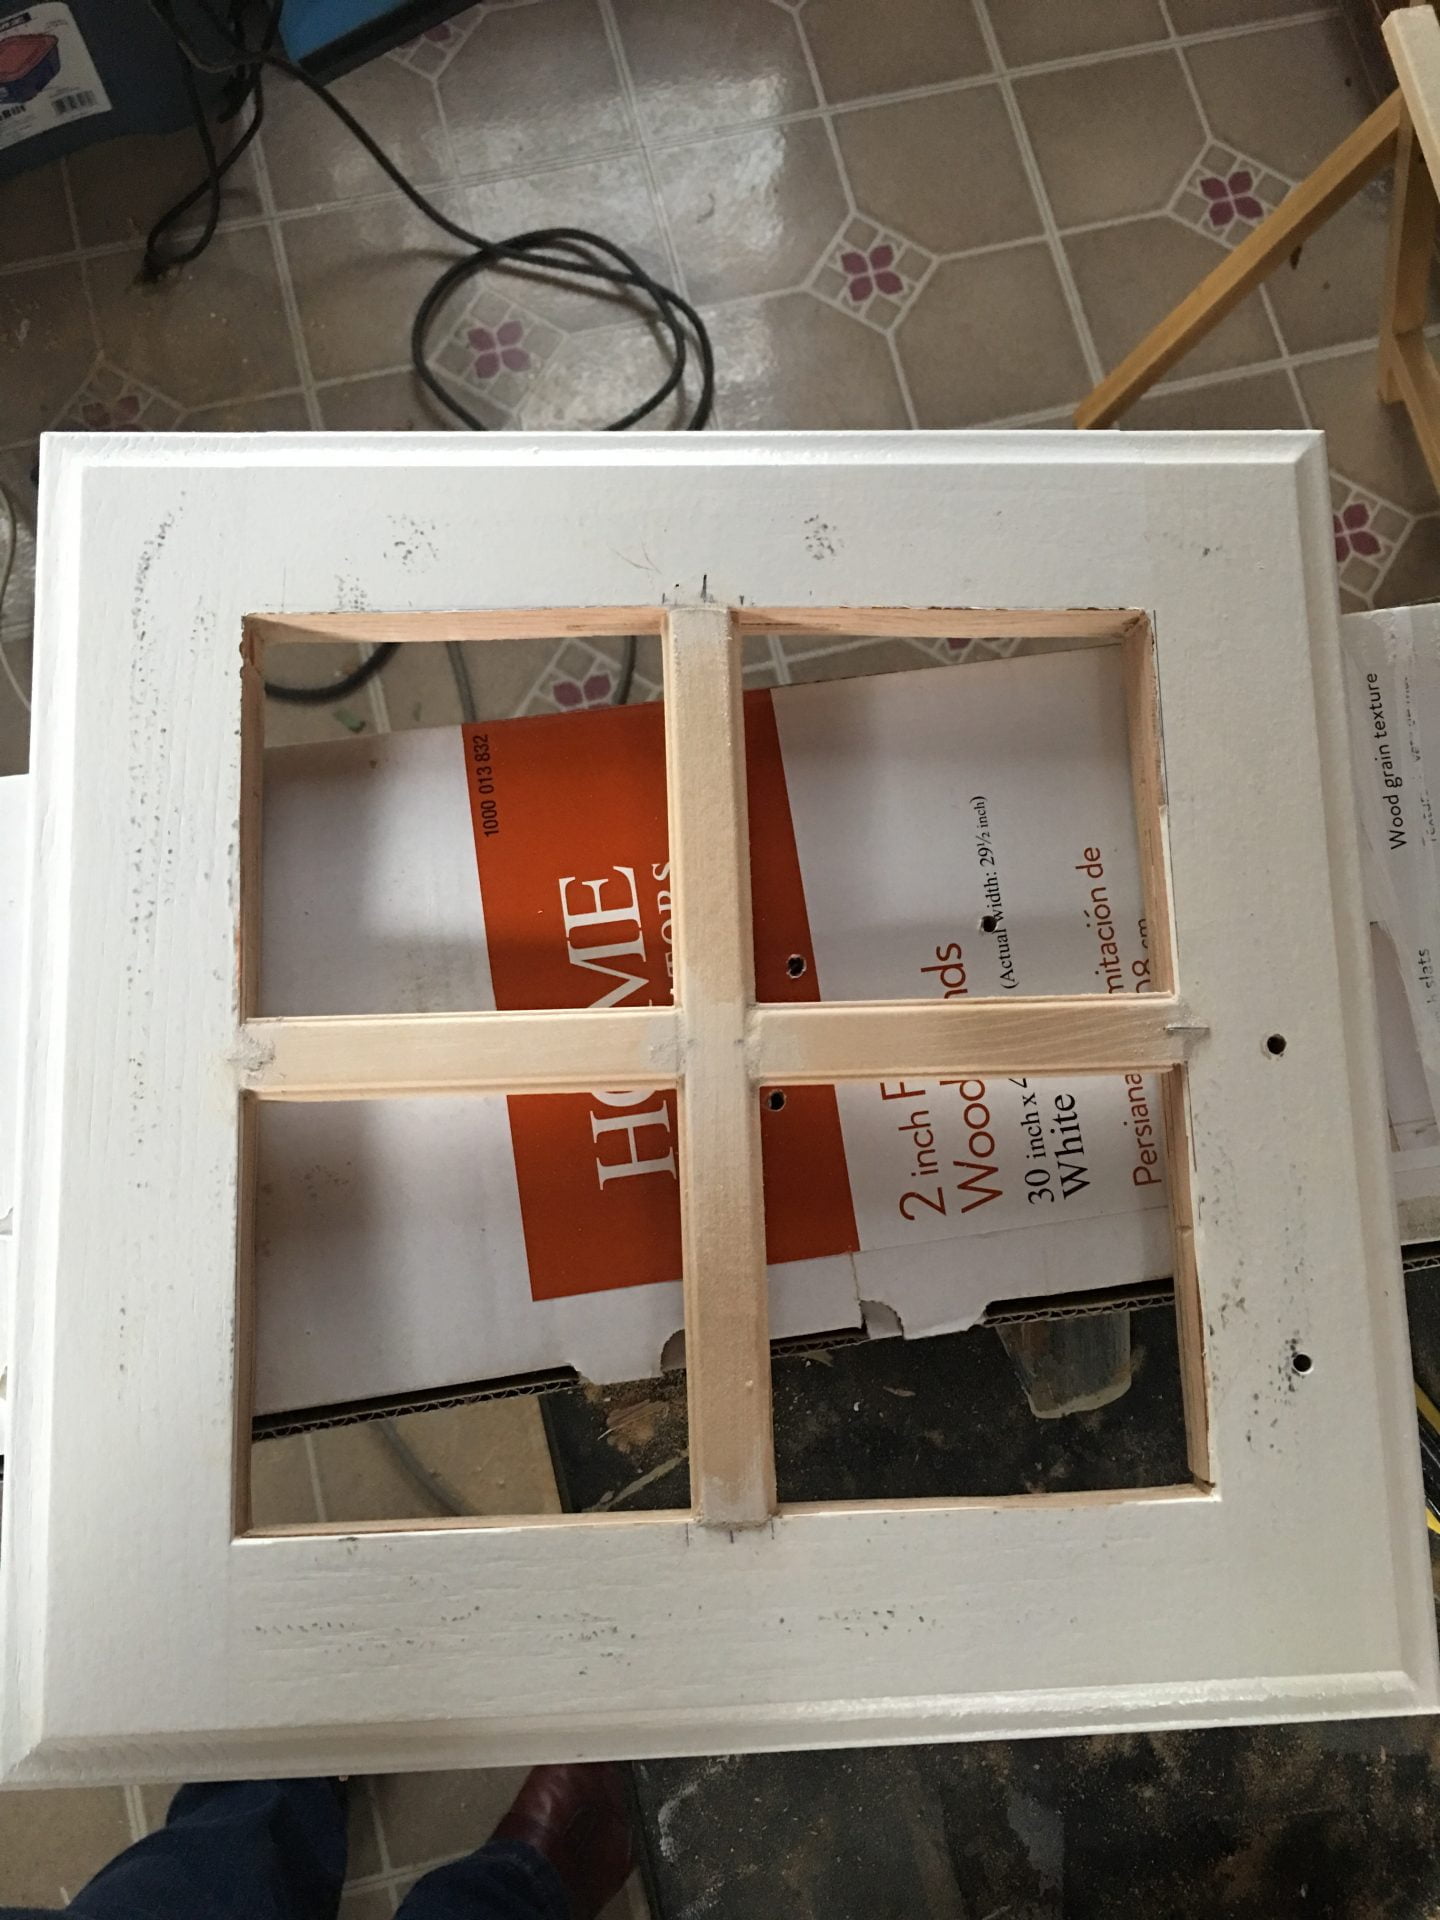
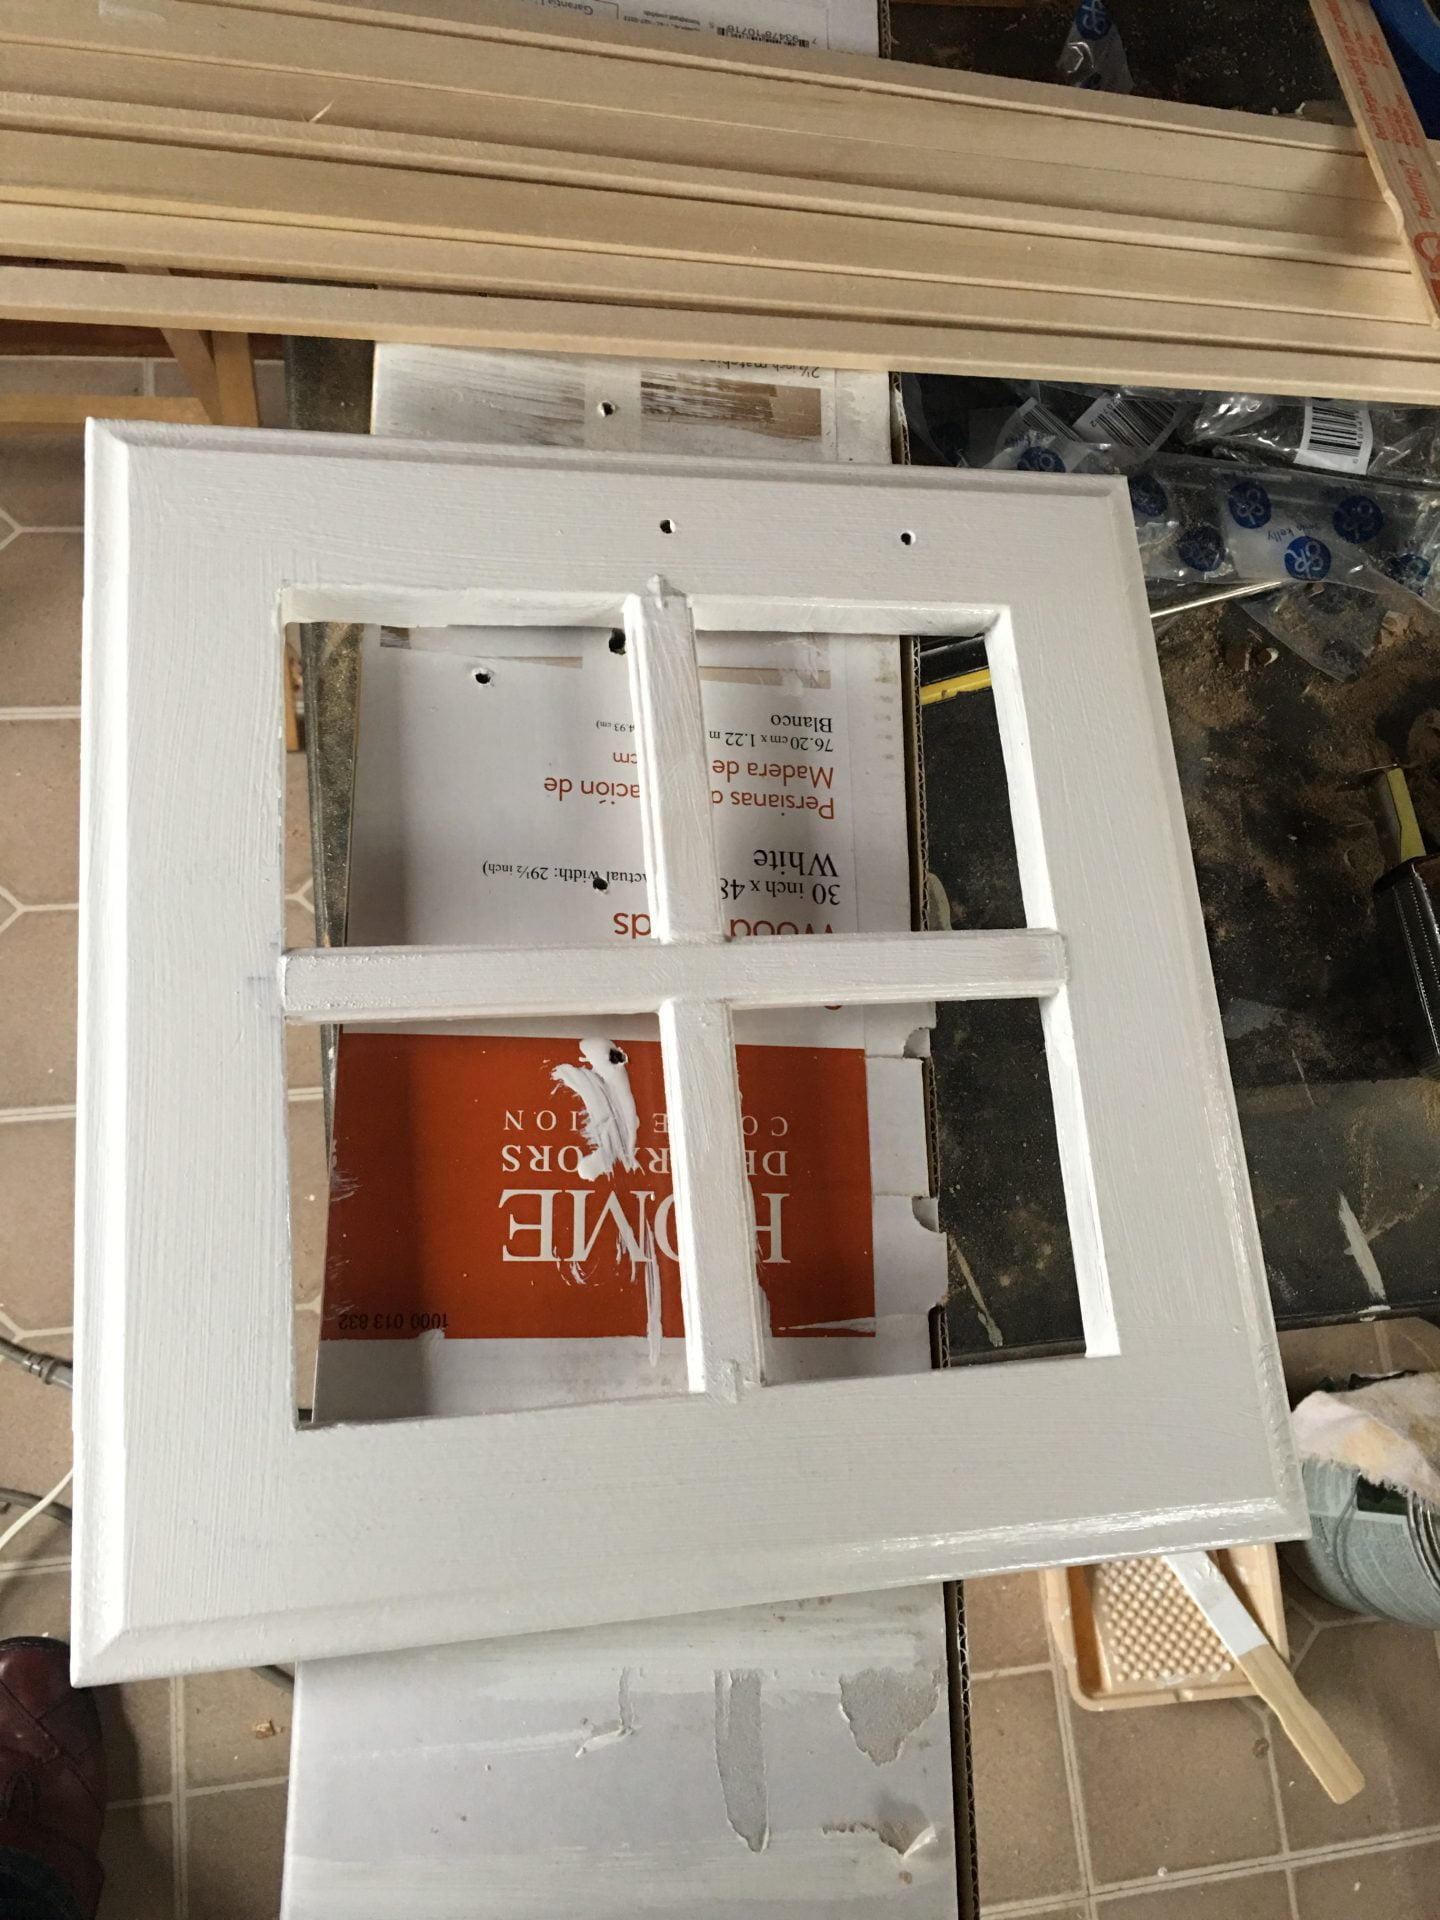
So, not happy with how it looked white, I took the door of the smallest cabinet off and cut the middle panel off. Then I added wood trim to form the middle runners and then painted them white. I have to say I started with the smallest one because I didn’t know if I was going to be able to pull it off. But once I did that one I was pleasantly surprised. I pat myself in the back and continued with the rest. Once I had all of them built and repainted, I took measurements of the panels and had glass cut to fit into them. I have never been one of those people that have their dishes super organized or their pantry so I decided to frost the glass and then proceded to install it on each door. The final step was to add new hardware and some caulking to make it look finished and a little bit more professional.
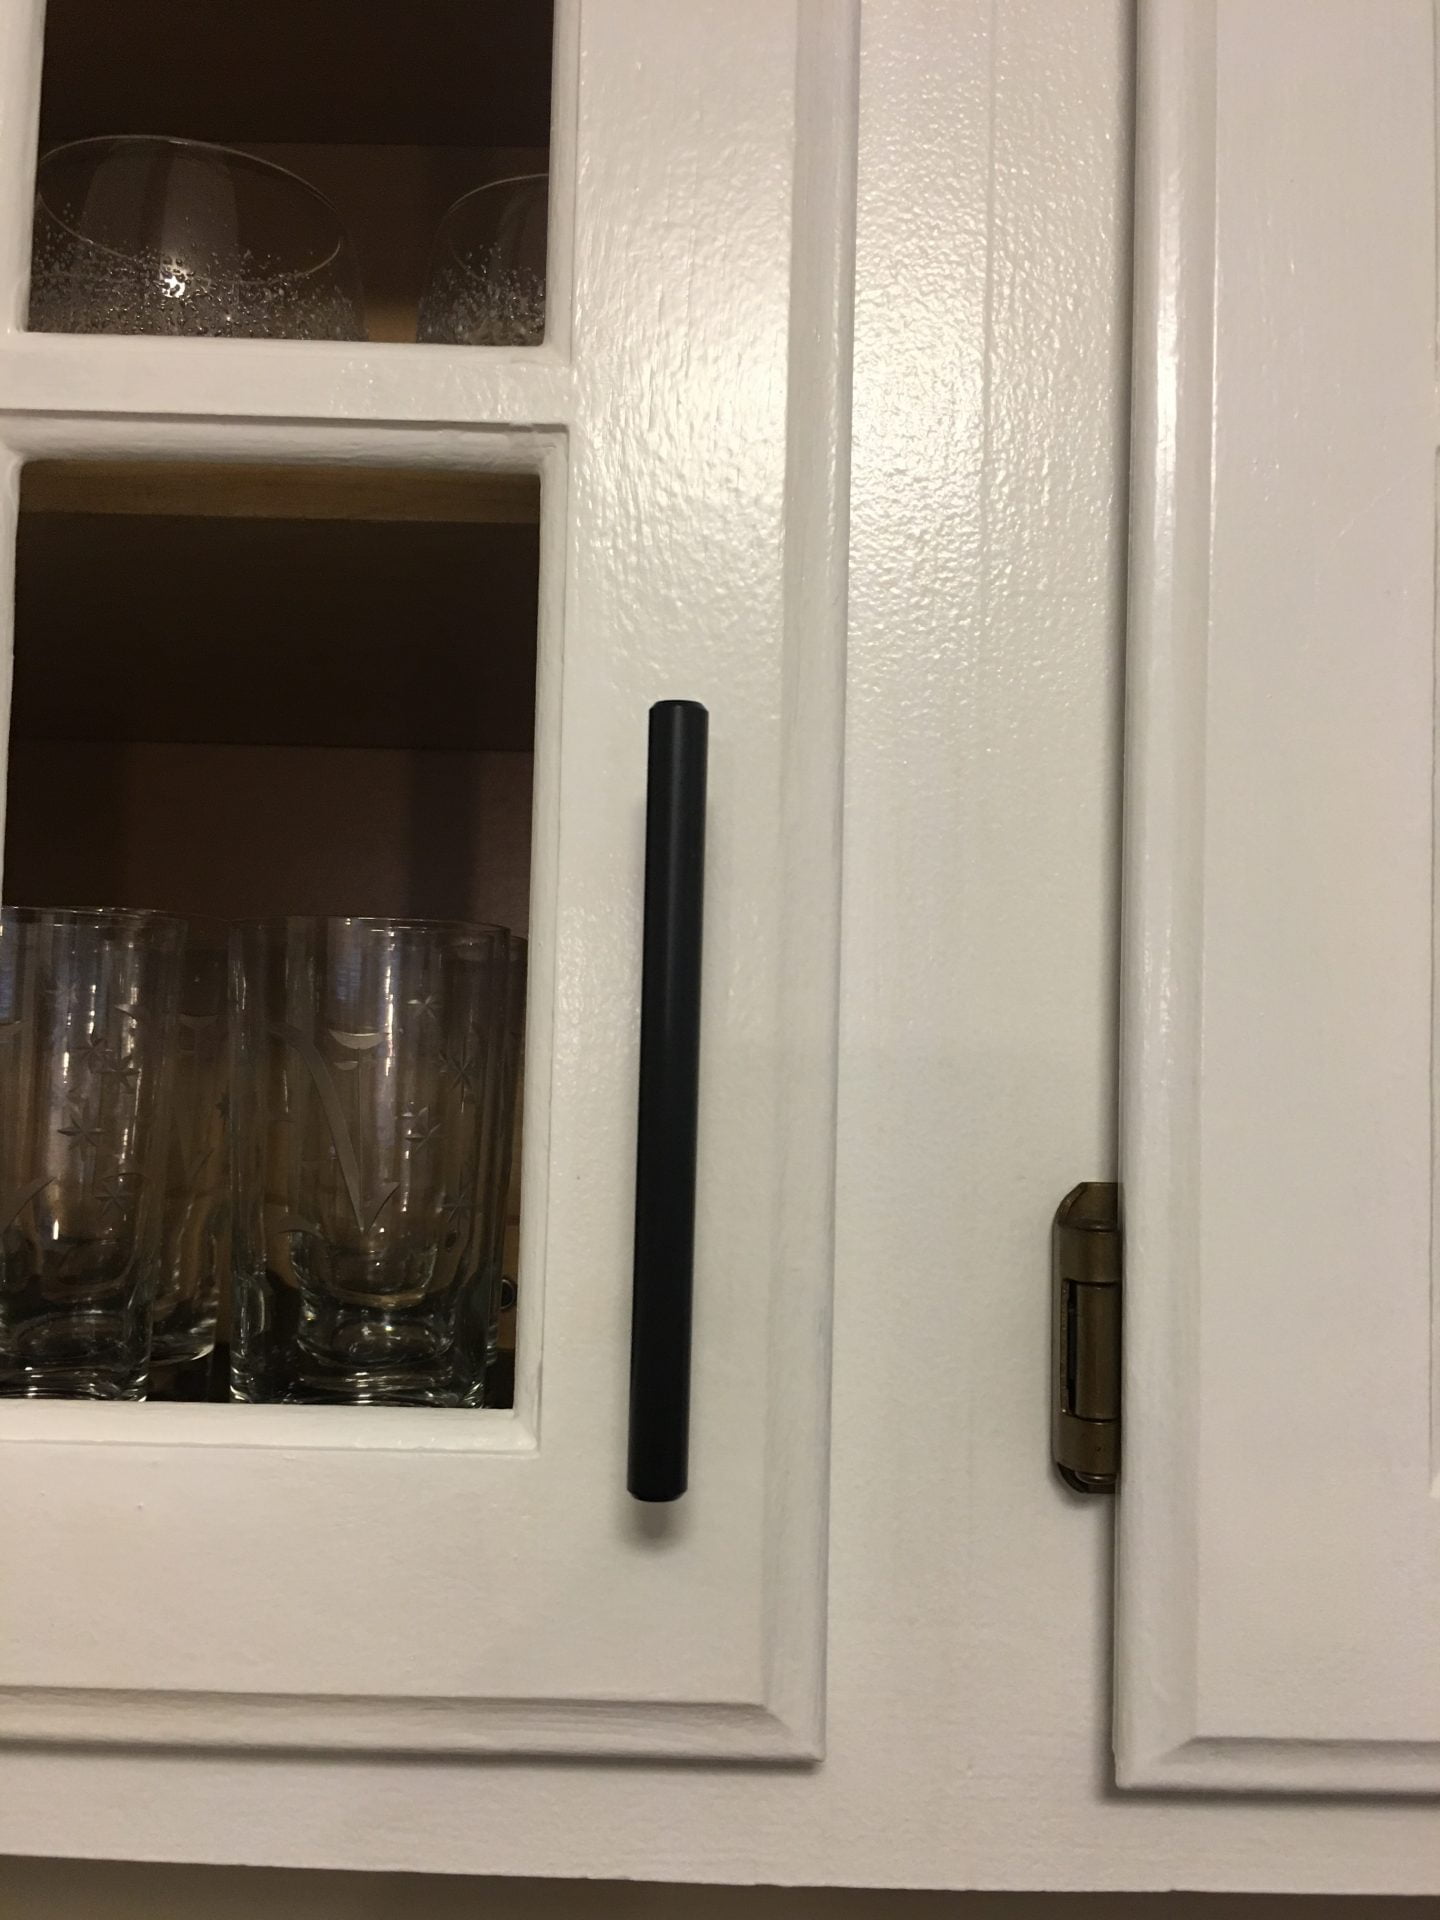
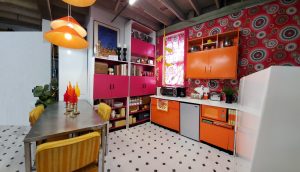
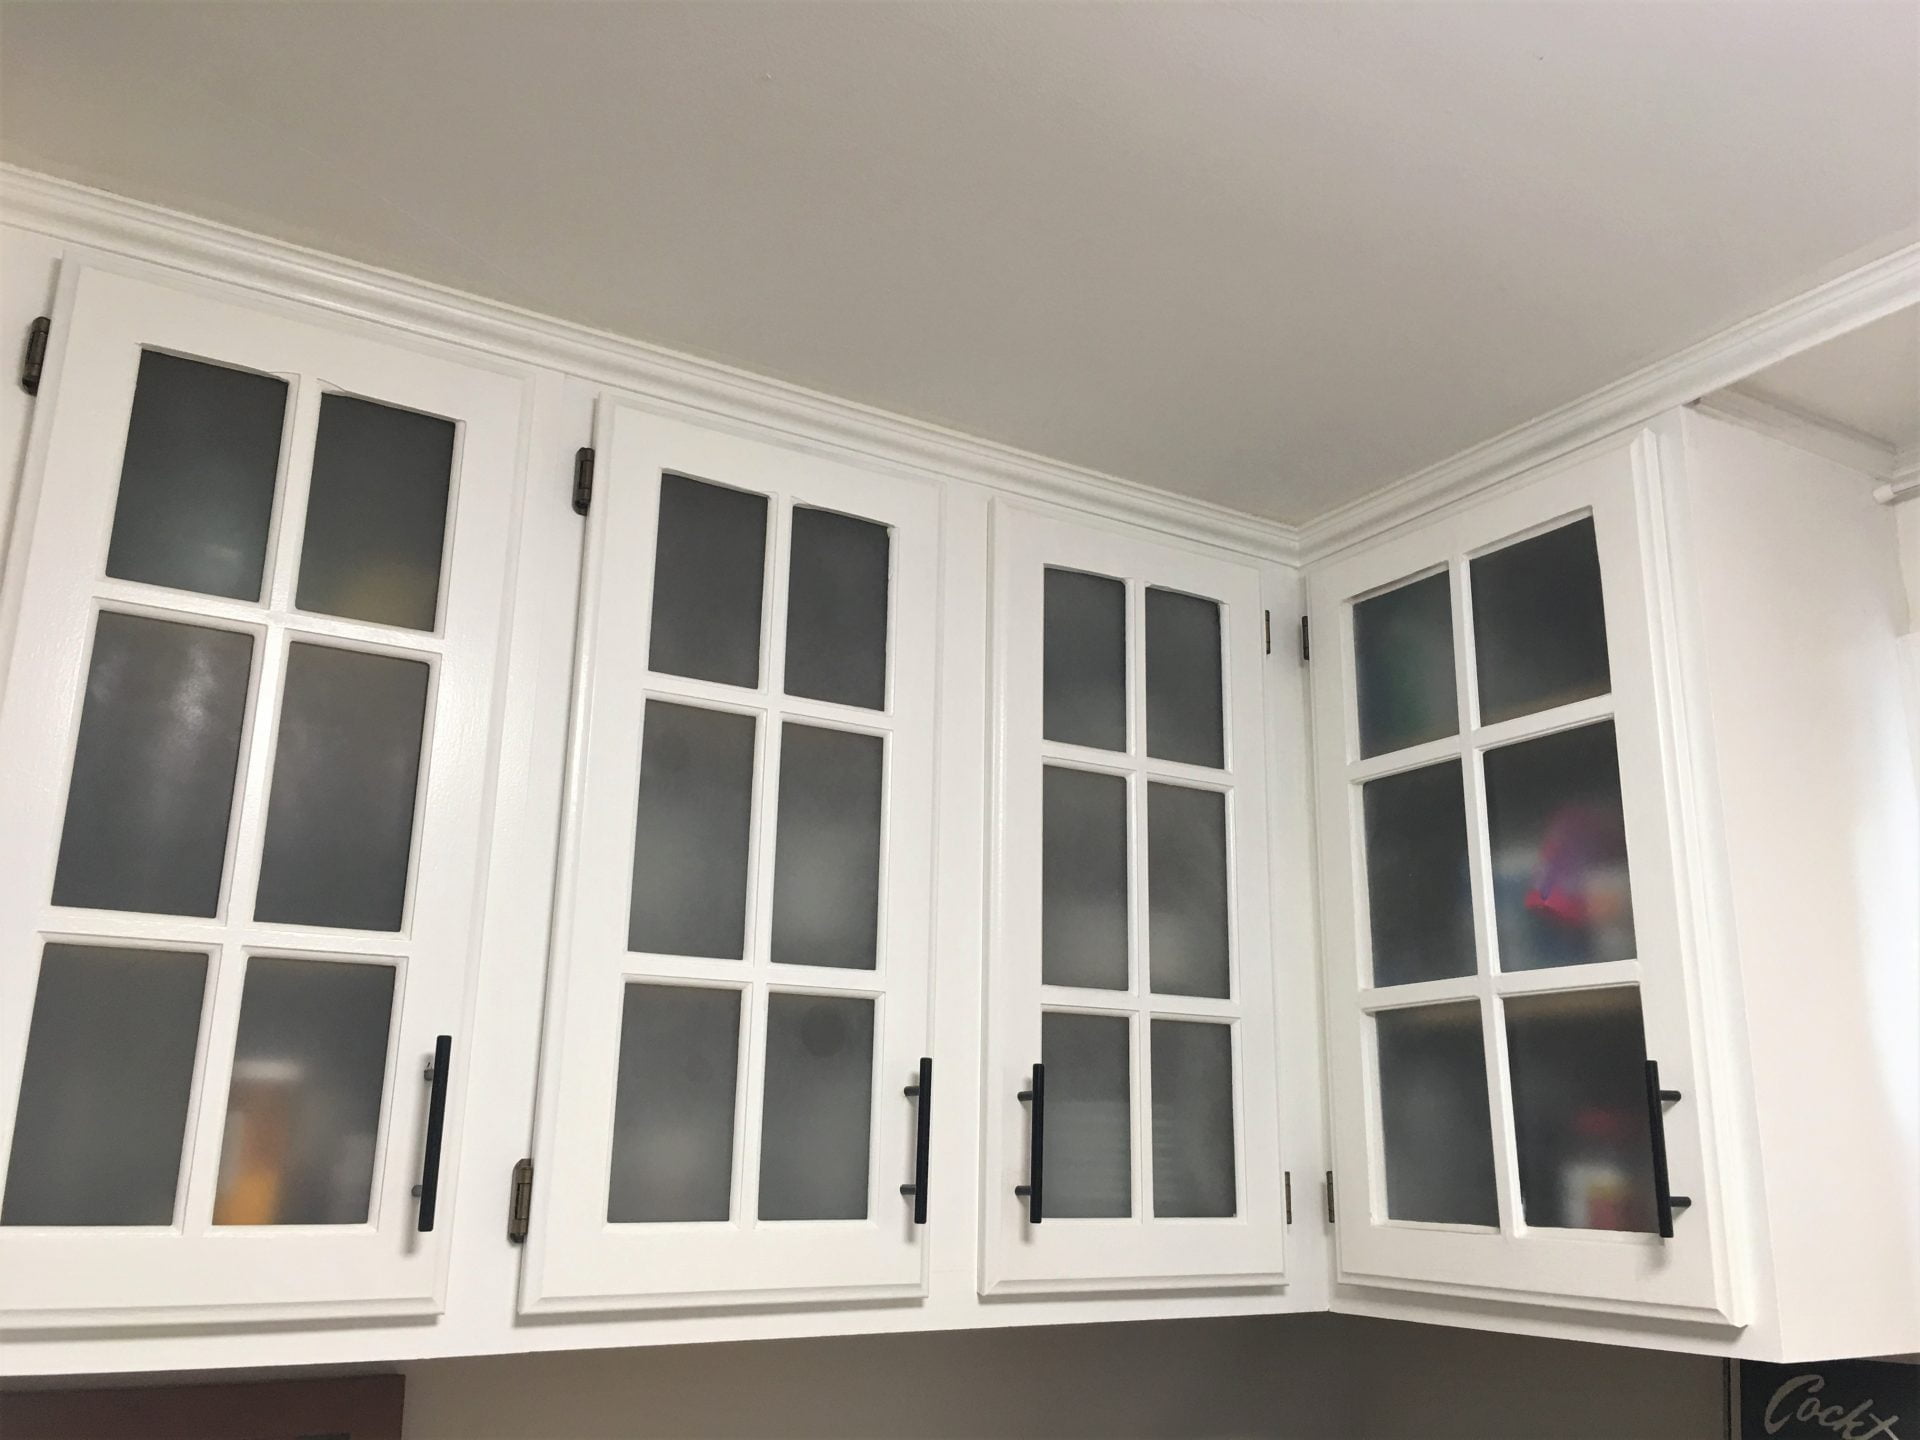
And here is the final result:

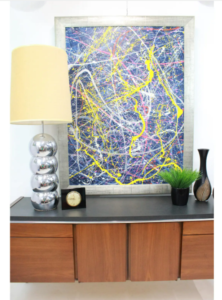
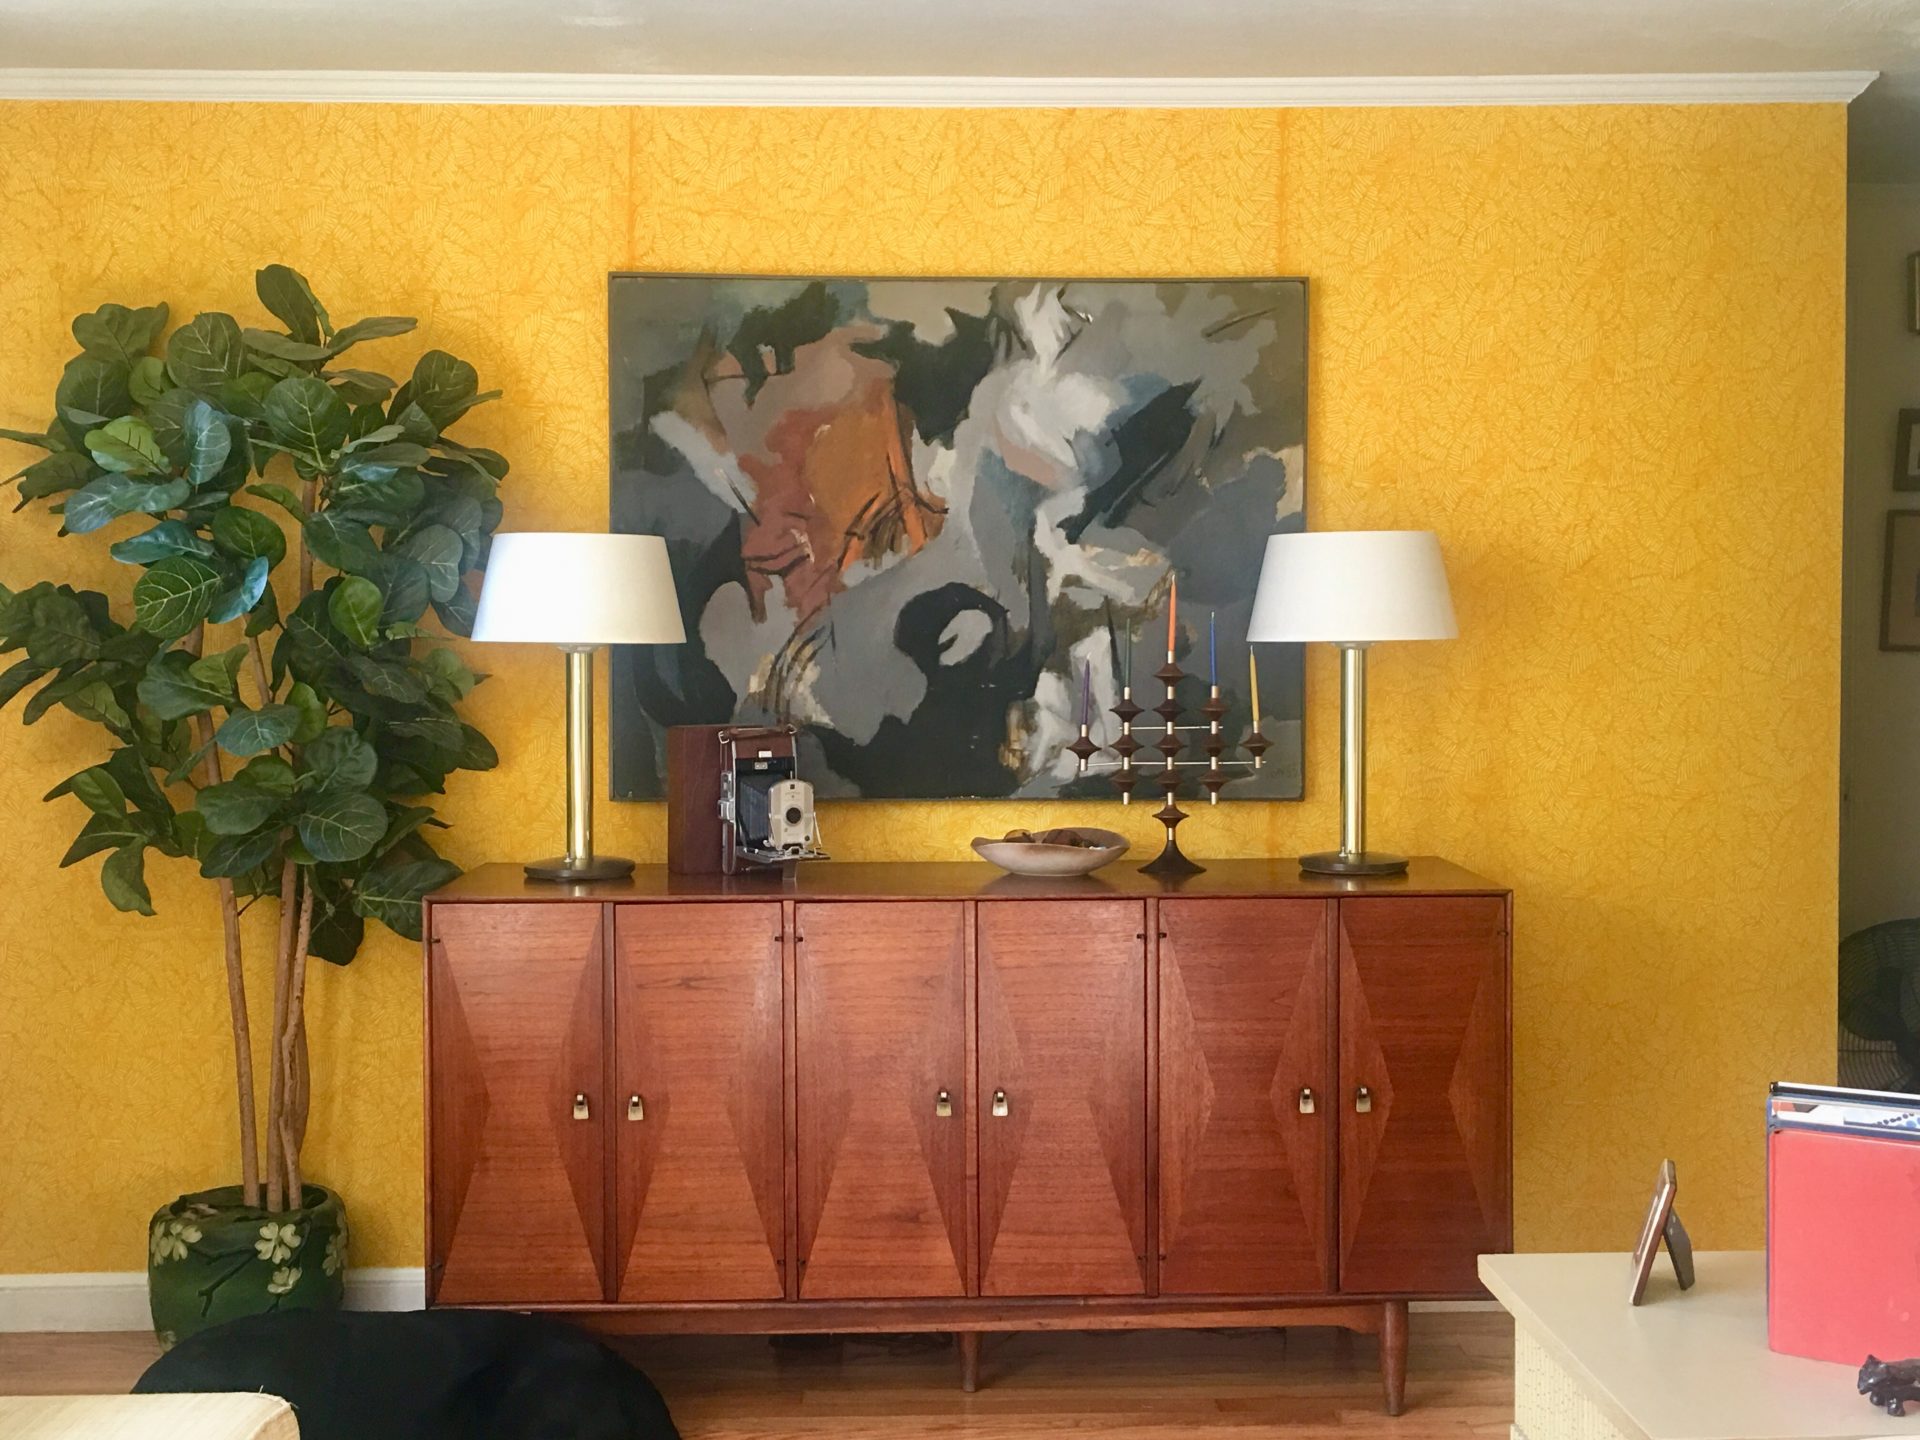
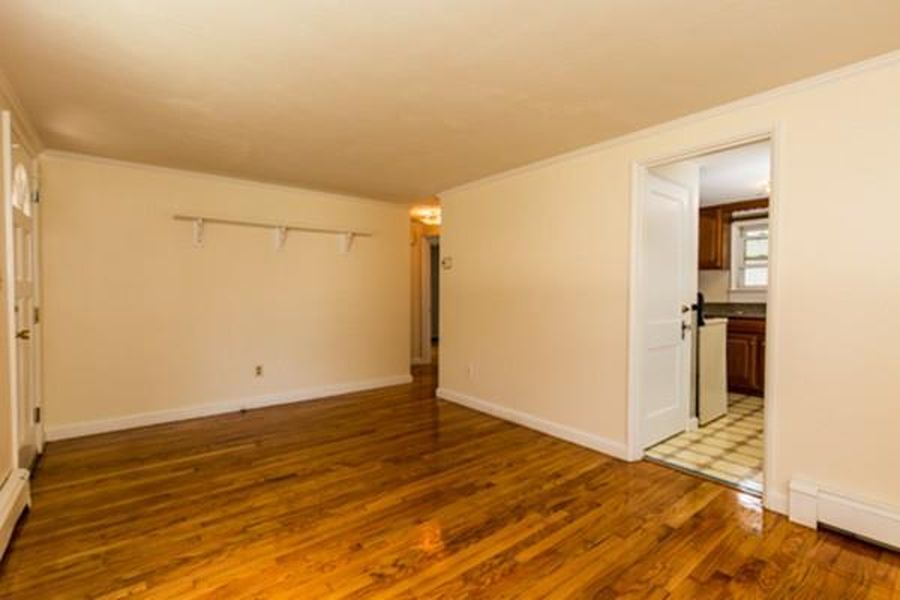
2. I had seen a technic of doing fabric on a wall with liquid starch, so in this boring wall in my living room, I felt that it needed a pop of color. So after trying to decide which pattern to go with I ordered a bunch of samples. I wanted something with a larger pattern like an abstract banana leaf or philodendron or something similar but when I received the samples I felt that for the size of the living room and the size of the wall it was definitely too much and I wasn’t sure that green worked in the space either. So I went with yellow.
Here are the steps of what I did:
- Cleaned the wall
- Patch and painted the damage in the wall where the shelf used to be
- After it dried I covered the first part of the wall with liquid starch
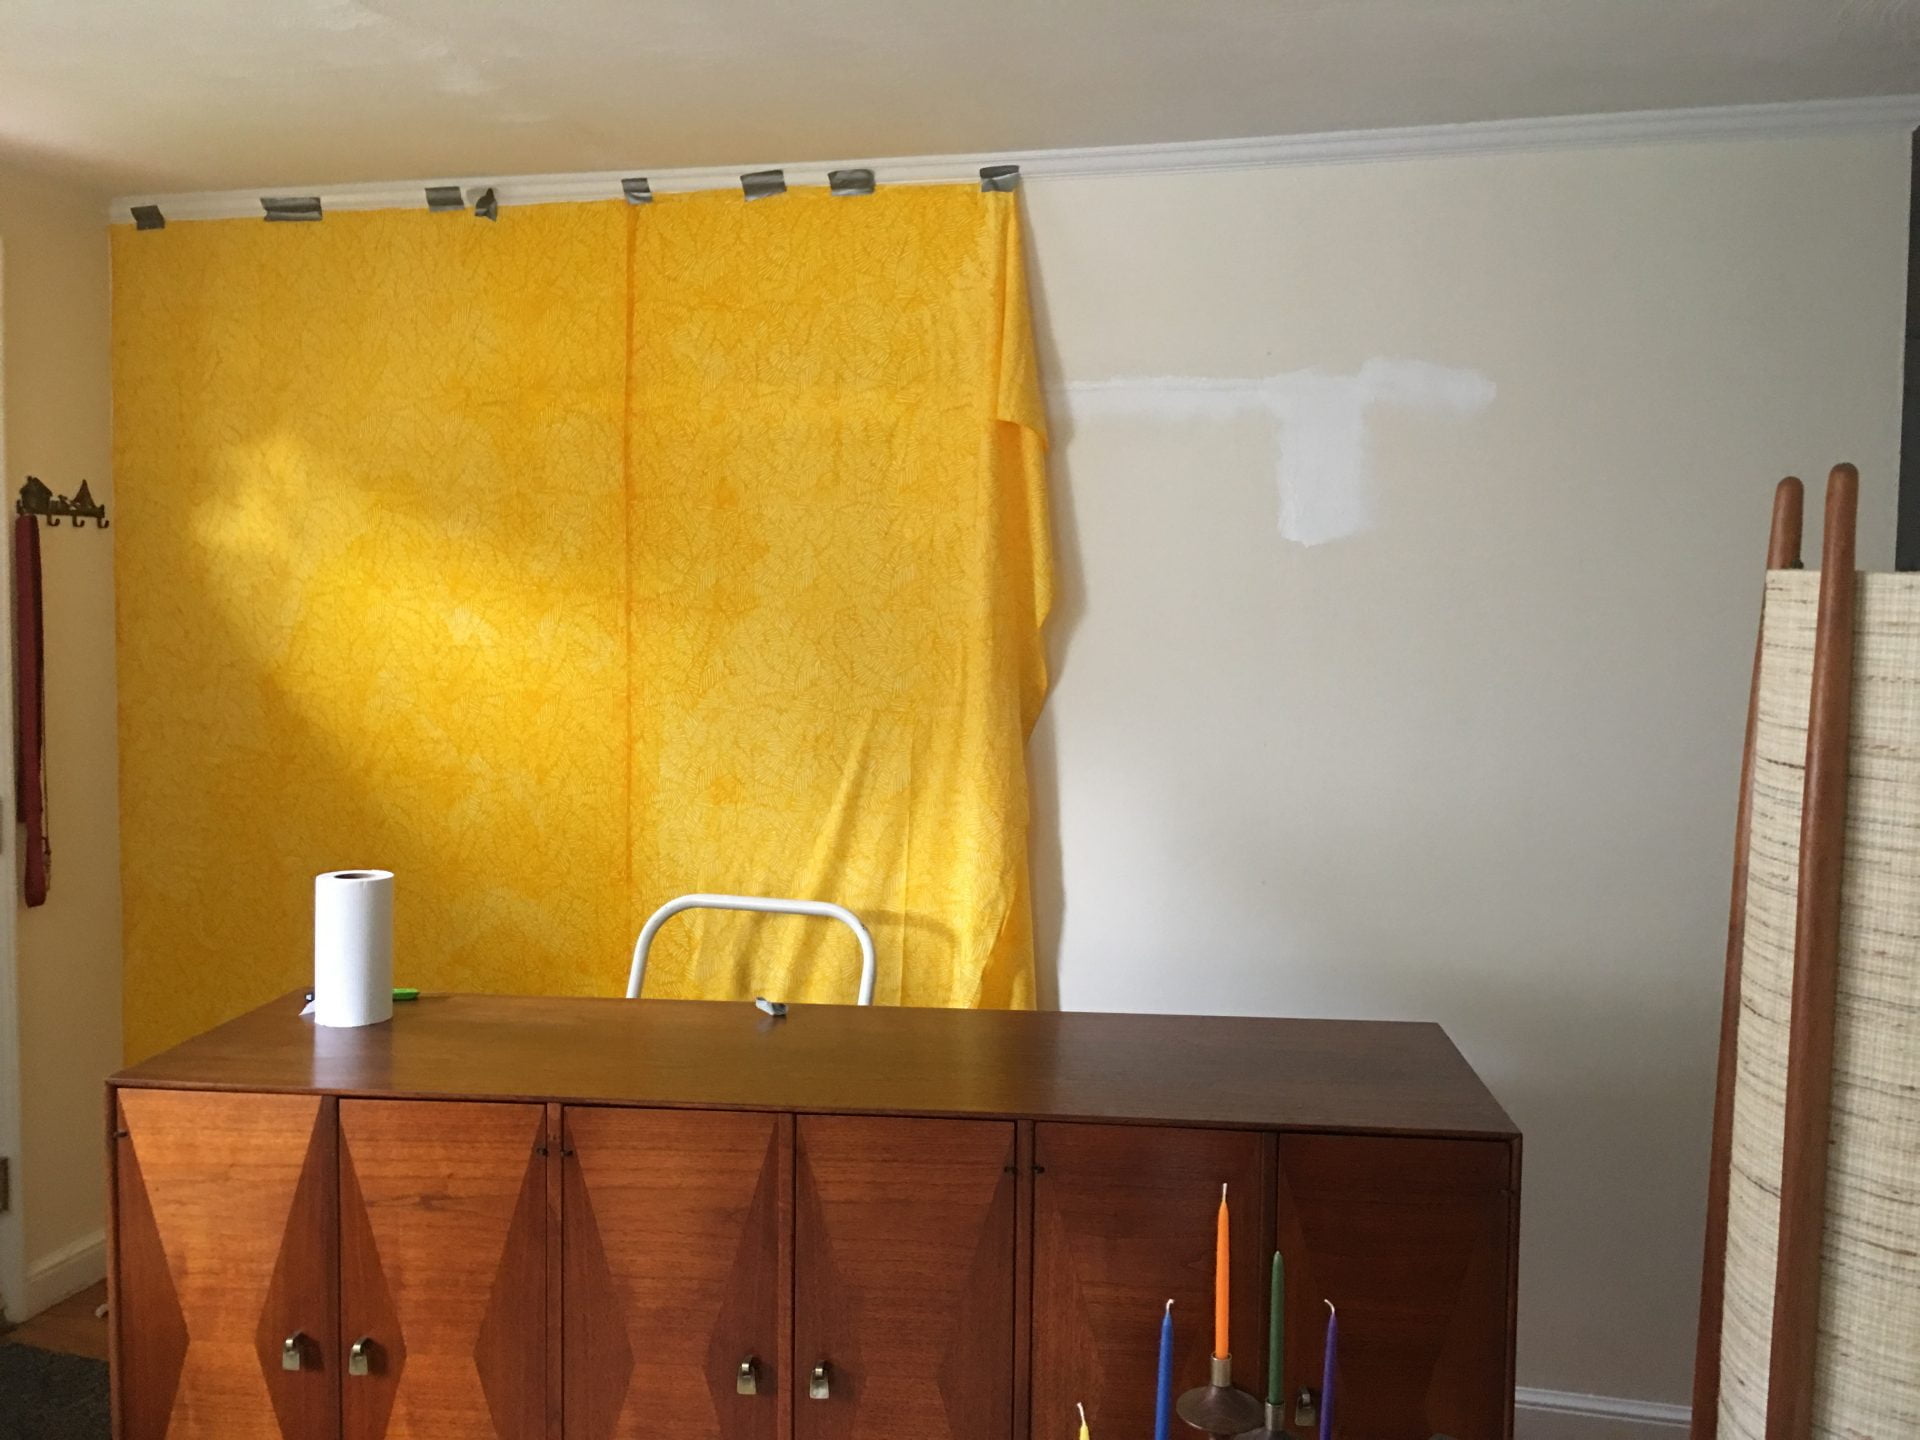
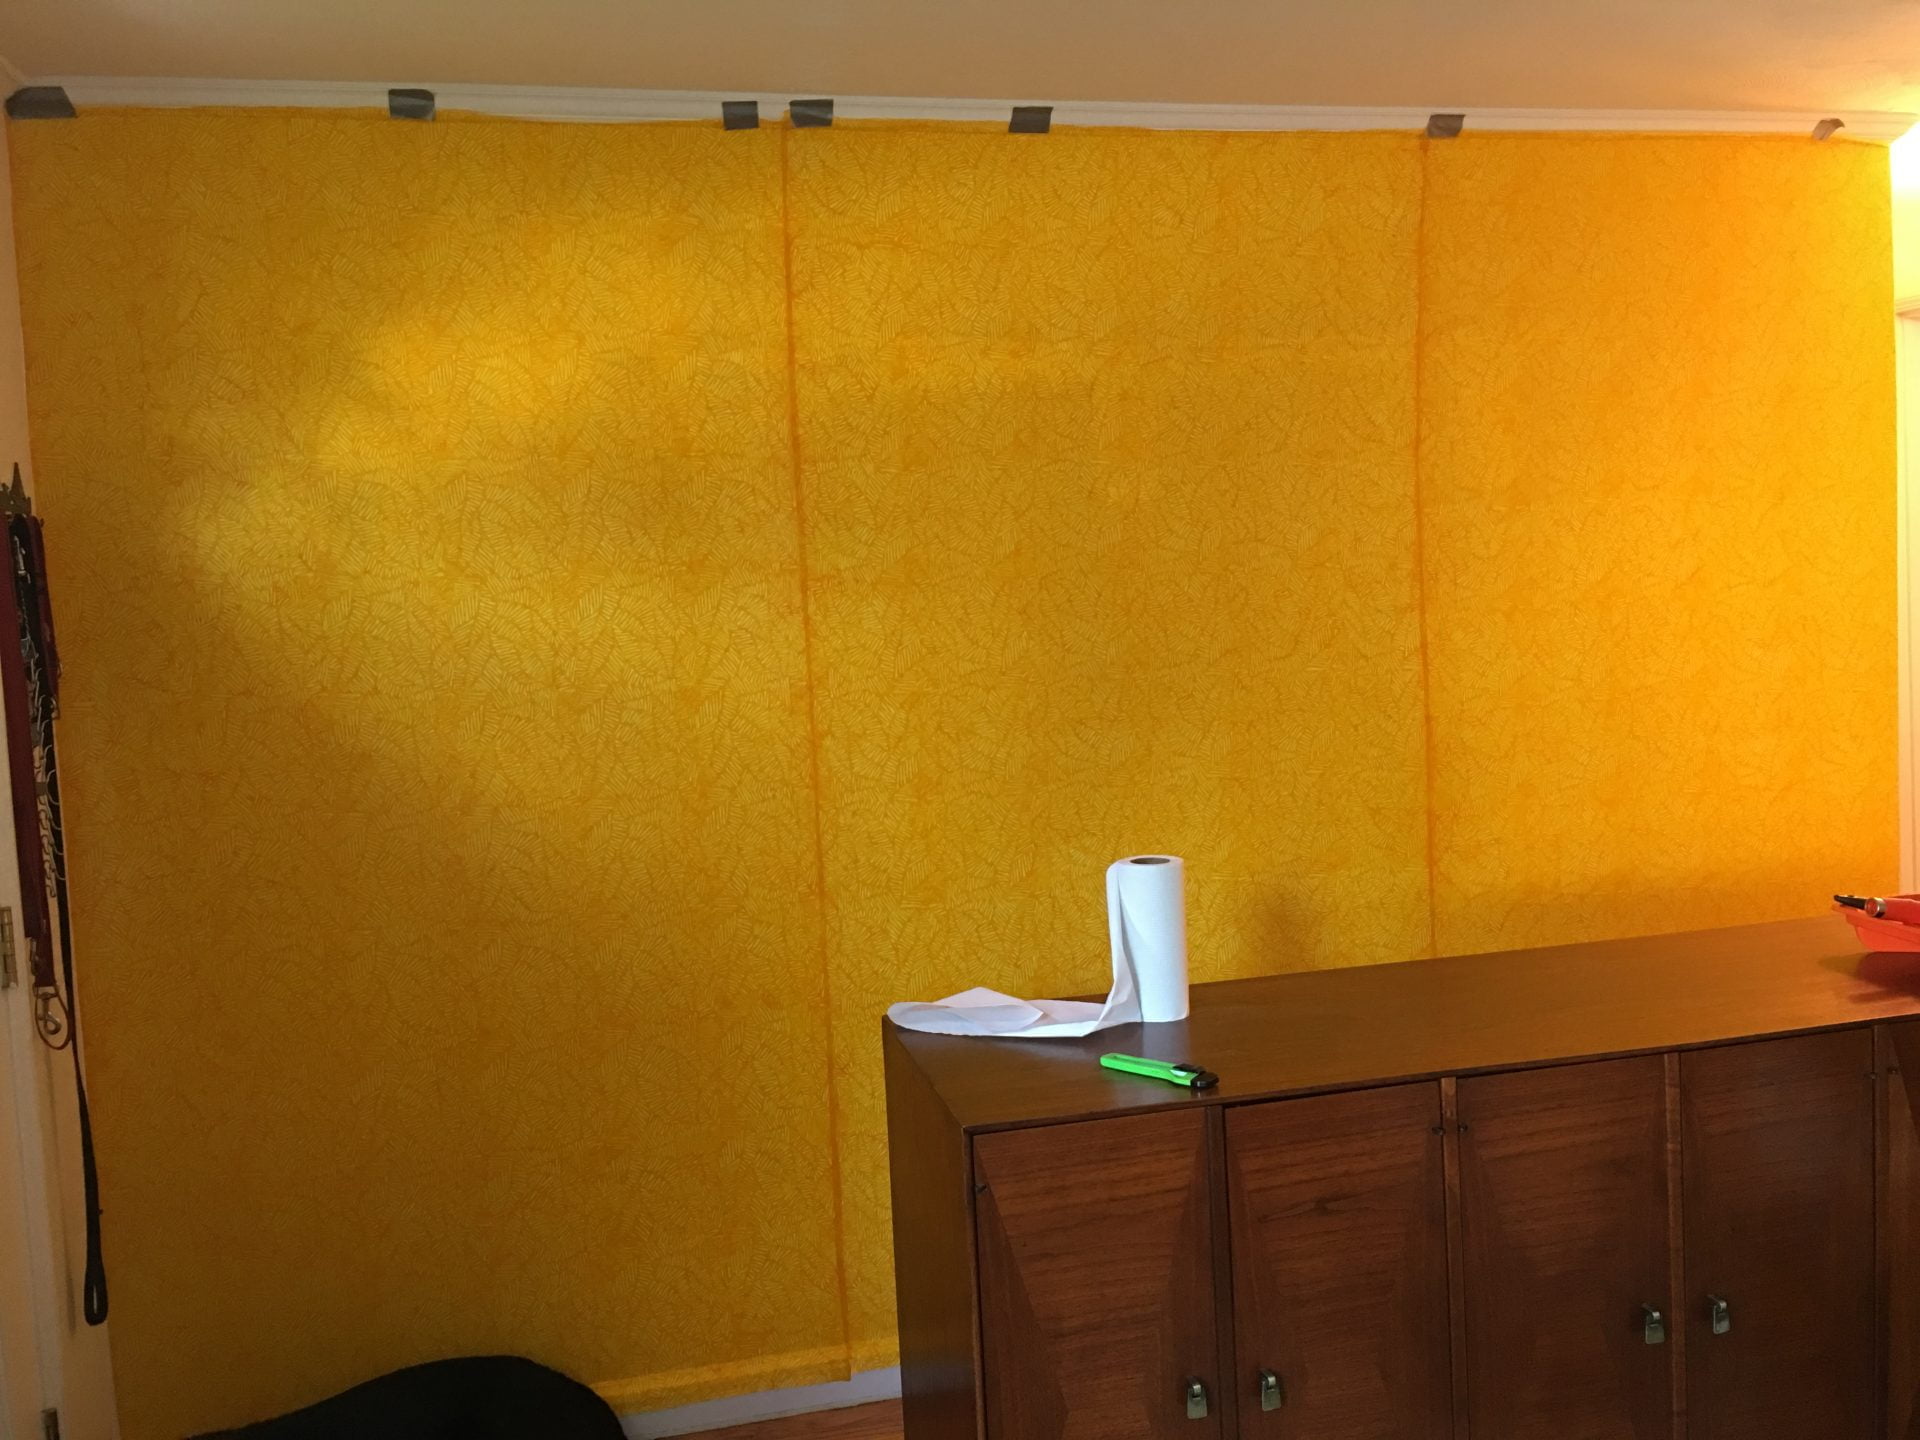
- Start fitting the fabric on the wall, as you can see I used duct tape to hold it in place while I glued it and while it dried
- Once it is all in place roll more liquid starch on top of the fabric making sure you got all the air bubbles out and there are no wrinkles or crooked areas in the pattern.
- After you do your first panel of fabric start fitting the second one with as minimal overlap as possible. I would say do almost none because I left about 1/2″ and it is still noticeable.
- Repeat starch on top of the fabric and proceed with another panel.
- Let dry the entire night and check again the next morning
-
- Original wall had a shelf
-
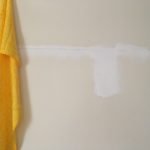
- I had to patch and paint where the shelf was

-
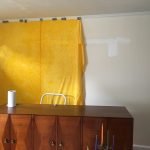
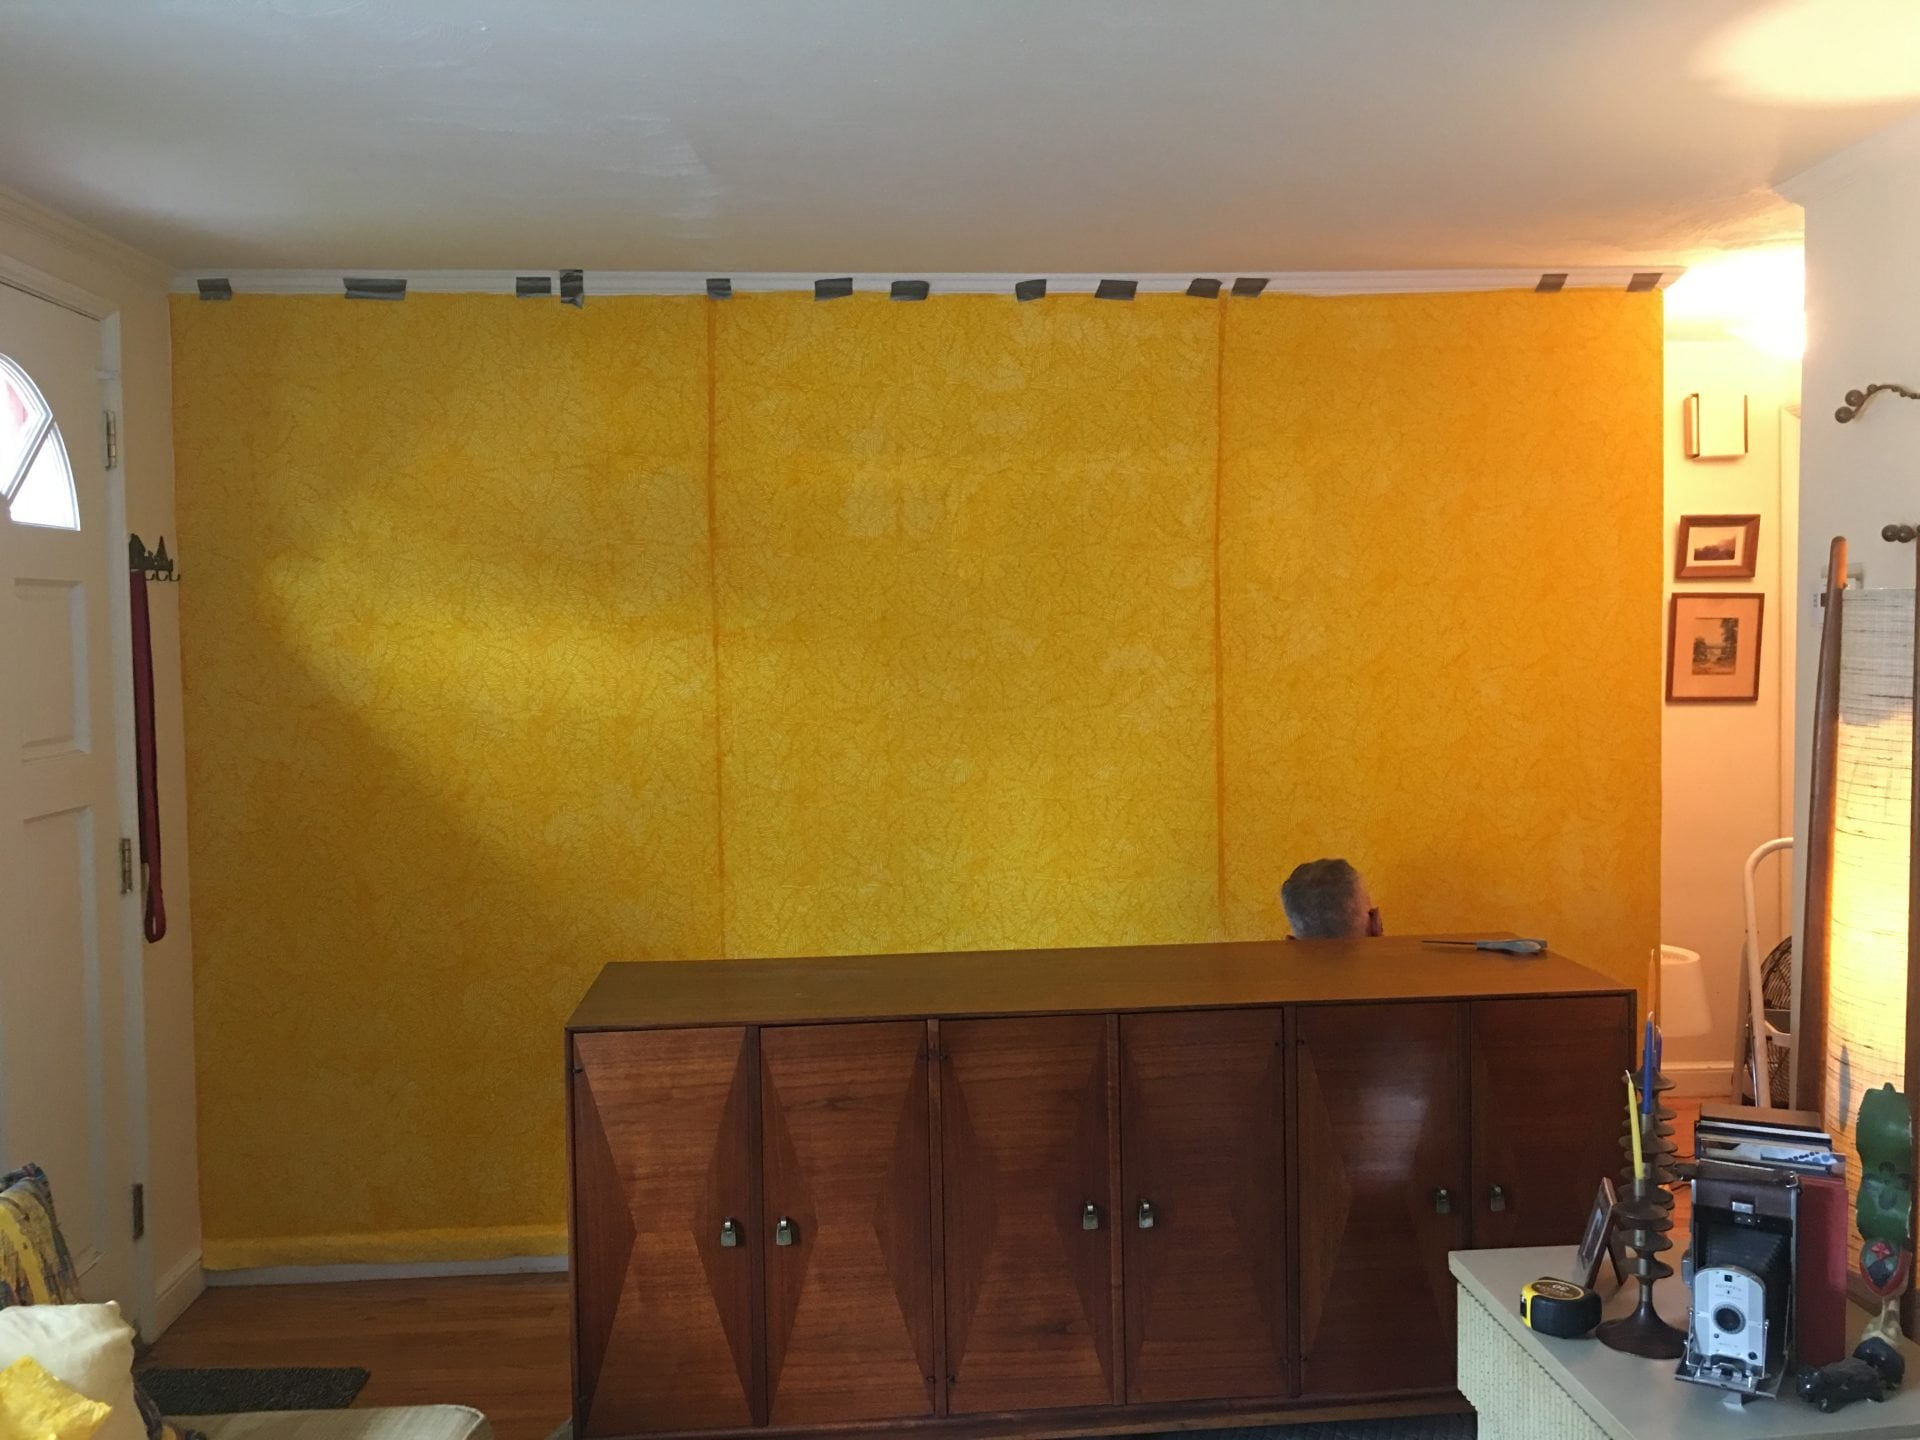
- I used tape to hold the fabric in place
-
- Look at the bottom part (baseboard) untrimmed
-
- The back of my husband’s head 😀
-

- Final Result
Note: What I did the next day was to apply more starch on the corners and edges that had dried and were not glued properly and then I trimmed the excess fabric on the top and bottom (baseboard) with an Exacto knife.
And that is all, my biggest lesson of the year is that I am a DIYer after all. How about you? What is your biggest lesson of 2019? Share it with me via email or on Instagram or facebook. I would love to hear from you.
As always, if you liked this blog please subscribe share it with your friends to help us grow even more in 2020. Thank you for all the support and we will see you next year!